The 2013 Spring play at William Jewell College was Arcadia by Tom Stoppard. For the set we built 12' walls. I was asked by Professor Nathan Wyman to figure out how to build 3 of the 7 walls. The other 4 we had in Stock. I w as told to build two frames that would be 10' x12' with an 4'x8' door opening in the middle of a 10' side. Along with a 5'x12' flat. We used 1'x4' and luan and then covered the flats in musilin.
First worked with Professor Wyman to make sure that I had sketeched out the three flats correctly. I also needed to create a shopping list of the lumber we needed. From there I called both Lowes and Home Depot to see where the cheaper lumber was.

Here is the frame from one of the 10'x12' flats. The two outside styles where supposed to be 11' 10 1/2", however there was an issue with a tape measure that I was using. I realized that after cutting eight of the ten 12' pieces, I was half an inch off. For me the tape measure was unclear of where the inch and half inch marks where.
The inside styles are also cut at 11' 10". The top rail is precut at 10'. The bottom two rails, which can not be seen in this picture are cut to 3' each. The outside panel toggles are cut at 2' 10 1/2", they are placed at 4' and 8' from the bottom of the flat. The middle two toggles are placed at 8' and 10', and where cut at 4'.
The inside styles are also cut at 11' 10". The top rail is precut at 10'. The bottom two rails, which can not be seen in this picture are cut to 3' each. The outside panel toggles are cut at 2' 10 1/2", they are placed at 4' and 8' from the bottom of the flat. The middle two toggles are placed at 8' and 10', and where cut at 4'.
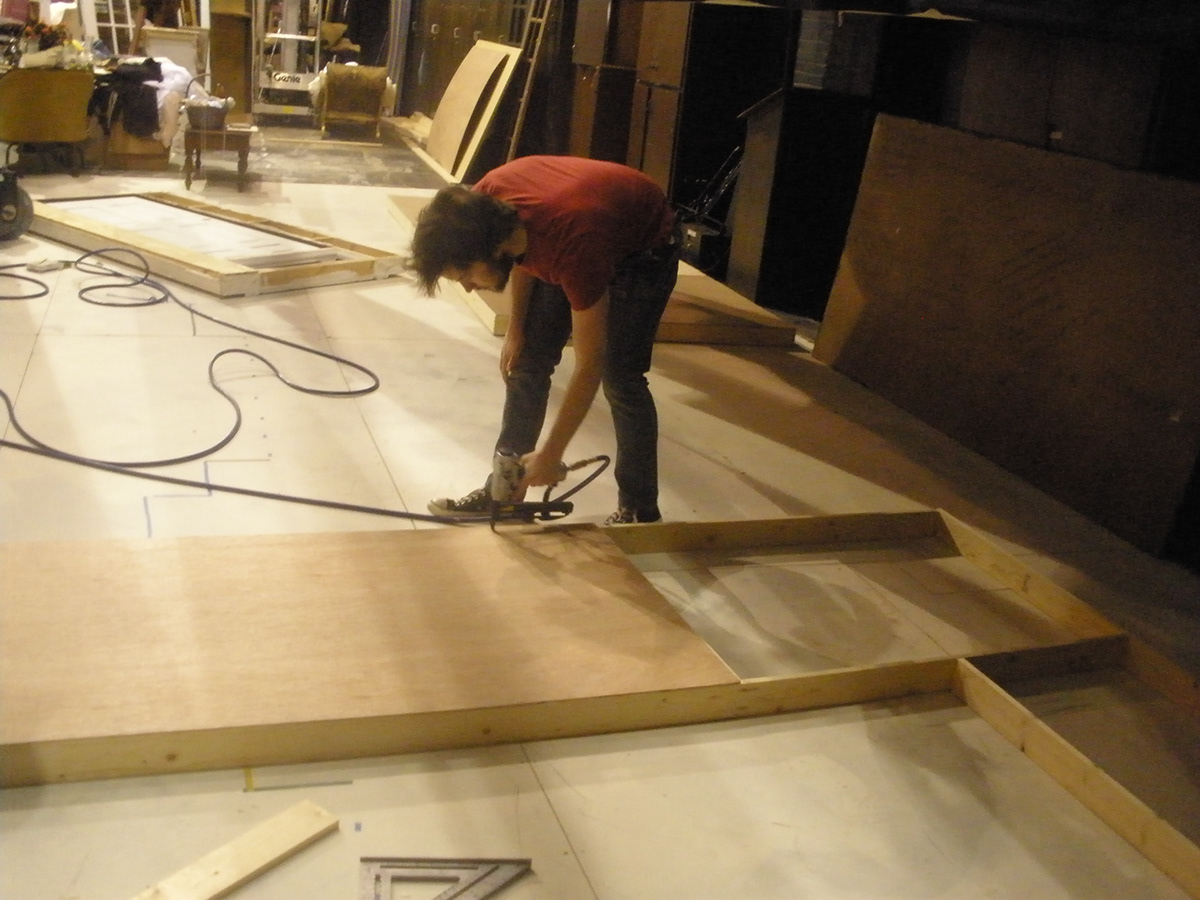
To hold the entire frame together we used 2" brad nails and a pnumatic nailer. This made everything easier so that the wood would not split, or shift while we put the frame together.

Here is the upper corner for a better look at how all the wod was touching along with where some of the toggles hit.

A side view of the flat. From here you can see the bottle rail that was cut at 3'.

Here is a picture of the completed 5'x12' flat. We already covered with luan when I was able to take pictures. We had challenges of trying to keep everything square. One of the biggest issues was if a piece of luan was not cut straight, as we work off of a table saw, then it would cause more challeges for the scenery team to finish the flat.

Here we have the Technical Director, Nate Wieske, and Assitant Technical Director, Caleb Adams, along with an Actor and Work Study Student, Stephen Whitmore, working on trying to square the 10'x12' flat in which is the last flat to be put together.
Stephen Whitmore using a pnumatic nailer, later we switched to a stapler, to secure a piece of luan onto the flat.

Nate Wieske, Caleb Adams, and Stephen Whitmore trying to figure out the best way to square up the flat. We found more issues where the wood would start to come apart as we often had to move the walls for rehearsal.

We are almost done covering the flat with luan. On both 10'x12' flats we had issues with the last 3'x4' in the upper right corner. None of us are really sure why it was always this corner, but we would eventually get it to where it would stay square. We also found it easier to leave the top out the half inch, that was overlooked in the cutting stage, and come back and route it off, versus trying to get it cut on the table saw and have the chance of it not working.
I am happy to say that it was my task each time to come around with the router.

Here are both finished flats. We had to stop here for the day, as rehearsal was going to start in 30 minutes and we had to still clean up.

After finding a spare drop, that had a tear in it, we started to cover the two 10'x12' flats. This was a tricky task as we had to stretch out the drop, find the seams, and line them up correctly. And cut the drop down to where we can make it more manageable to work with.
From there we would stretch the drop on all four sides. A person would come around and put a staple in the middle of the two long sides. Next we would work down one side of the flat and finish stapling it, hammer down the staples, and move onto the next one.
When we got to the door frame portion, I cut down the center and about 2' from the top would cut into a "Y"-shape going to the inner corner of the door frame. We would then staples the flaps into the three sides of the door. We would then cut down all the edges to clean them up.
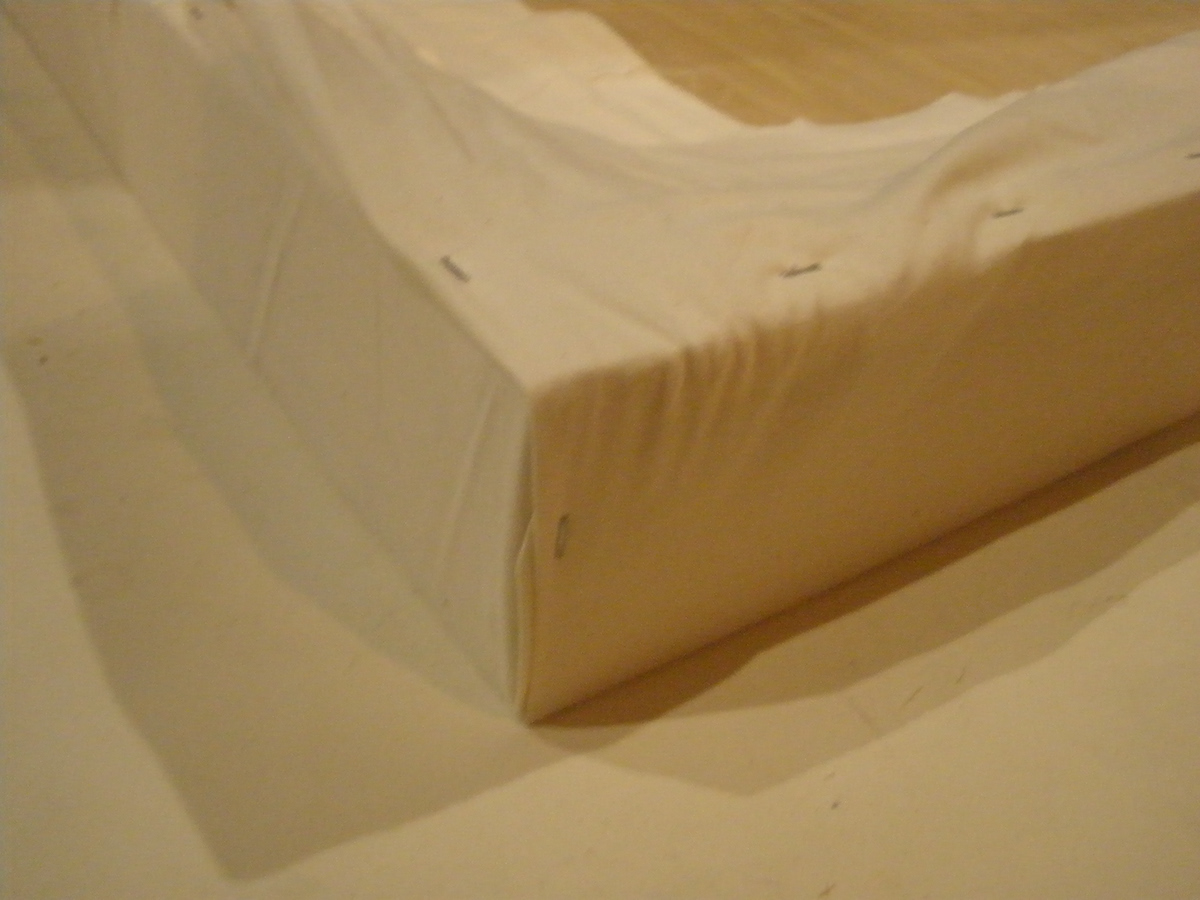
A top Corner that I put togehter.

A different view of the same corner.

One finished covered flat with the middle cut out of it.

Here is the finished set for Arcadia. The middle wall which the portrait is hanging is the 5'x12' flat. The two flats with the doors are the two 10'x12'.
This picture is used with permision by Kyle Rivas, Campus Photographer of William Jewell College.
The set design was created by Nathan Wyman, Director of Theatre at William Jewell College.
