
I present this personal project as a look into my process. This image is from a series of photograph I original shot in 2013. From this series of portraits I crated one image for my Citizens We portrait project. The other for a my on going Dreamscape project, Lady of th Lake.From time to time I will revisit images from photo shoots for noth more than; Just to see. This allows me to viw the images from a fresh perspective.
When I first pulled up this series of photos I went through them in Adobe Bridge in Full Screen mode. As I went through them I inadvertently zoomed in. I liked what I saw and decided to view them all in this tighter view. After making an intenial selection and choosing one, I began to work on the image.
Just let me say, I had no preconceived ideas of what I wanted the photo to look like I simply went in the direction the image took me. I think it’s a misconception that mechanical media and processes like photography or digital media are not organic and fluid like drawing. But they are. If you can think in the process it becomes an organic one.
There was a lot going on beyond the eight images I now present to you. These are the nodal point I choose as moments that took me to the final image. In the end, it is important to know your craft. You don’t need to know everything, but know your part of it and expand on that knowledge.
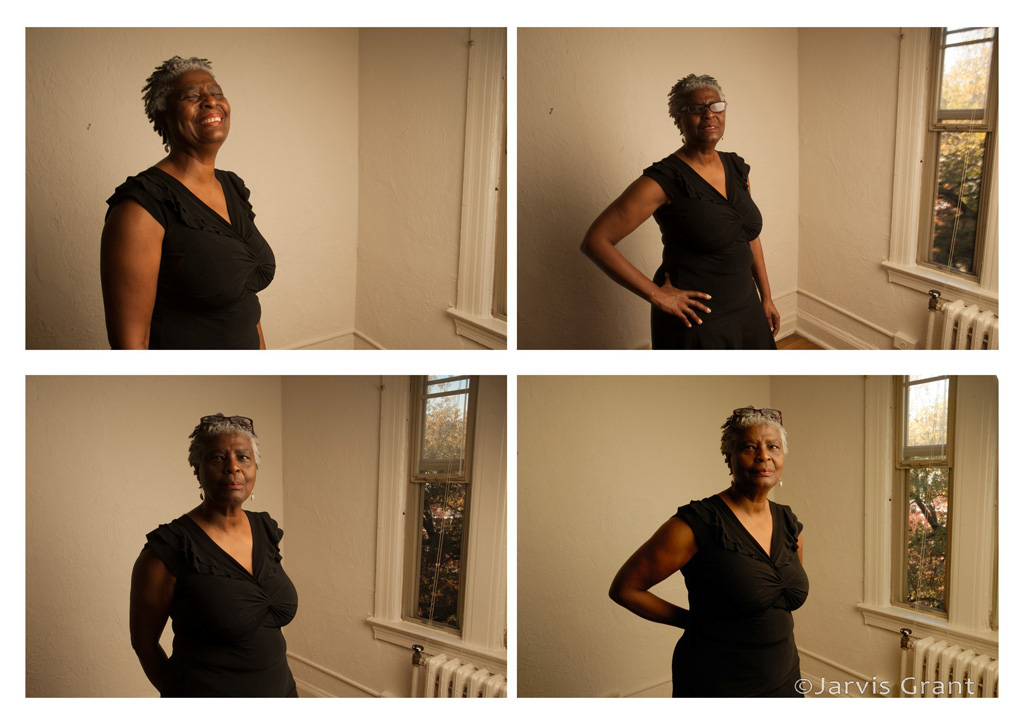
A selection of photos I thought might work with the revisualization for the new crop.

My final selection. I liked the lines of the subject’s form. Good graphic interplay. I could have "corrctd" th White Balance, but I decided to keep that tonal infomation if needed when converting to black & white later on.

My final selection. I liked the lines of the subject’s form. Good graphic interplay.

Pop the subject out from the background.

Once I had just the subject, I ran it through Nik Collection’s Silver Efex Pro 2. With Silver Efex I can view several options for a black & white (monochrome) image conversion.

While I like the monochrome, I want to re-introduce some color. I use the color information from step #4 and make this Luminosity Mask of the highlight and midtone color information.

With this color introduction I begin the process of experimentation. I always want to keep my options open. I save and group Layers in Photoshop as I move forward with the work.

I can’t remember all the stuff I did with this image, but that’s the organic fluid part I was talking about. But once I got the look I wanted with this iteration, I used Blend Mode, Vivid Light, to introduce the graphic from the Silver Efex Pro image for this final result.


