Create a Typeface Character
I started a character design project that merges typefaces into unique monsters, cute animals, and various other font inspired character creations. The method is simple, I take different sections of the characters of a specific font and I put them together, giving birth to different kinds of creatures.
The interesting thing about Typefaces is that each font gives a different aspects to the characters. That is the essence of Typefaces – Faces with Type. Learn the basics of how to create these fun characters!

Step 1
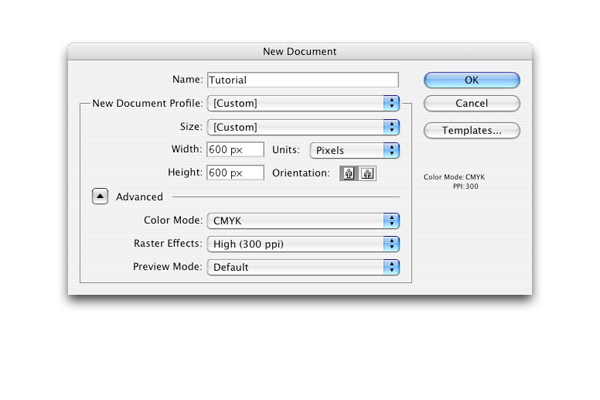
First of all open Adobe Illustrator and create a new document (Command + N) at 600px by 600px.
Step 2
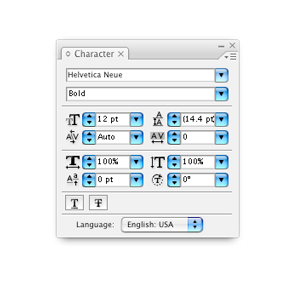
In this example we are using Helvetica Neue Bold, but you can try it with any type you like.
Step 3
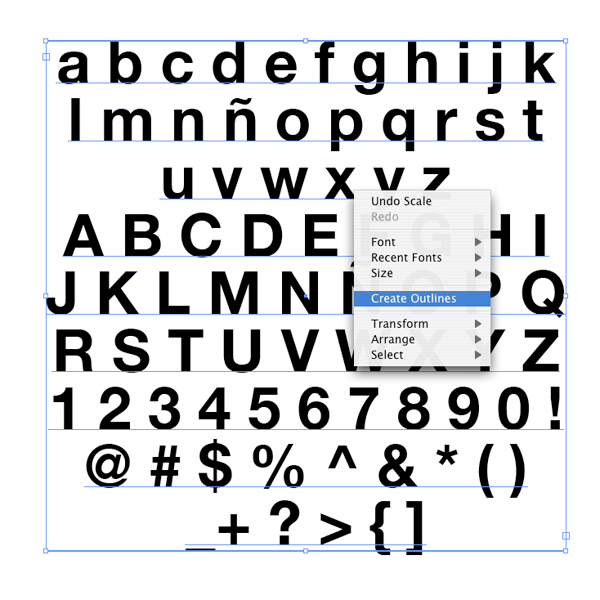
Select the Type Tool (T), type down the whole type case (all the upper and lower case plus its numbers and signs), go to Type > Create outlines (Command + Shift + O) and then select the elements you are going to work with to create a typographical creature.
Step 4
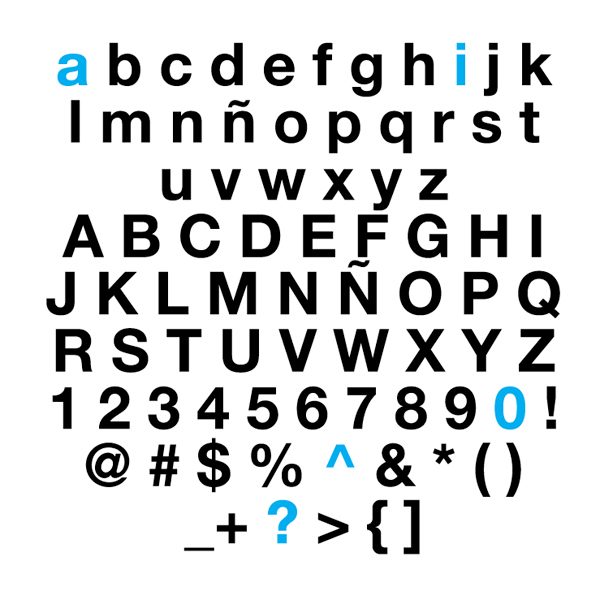
In this occasion we are going to select the “a,” “i,” “?” “0,” and “>” characters.

Step 5
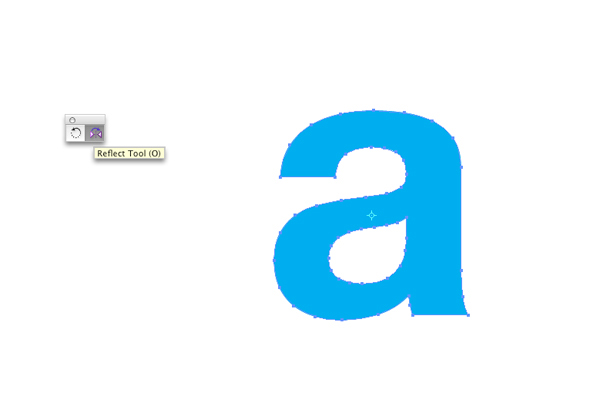
Once you’ve got the type forms you are going to work with select the lower case “a.” Then copy (Command + C) it, paste in front (Command + F) and use the Reflect Tool (O) to flip your second “a” on by its vertical axis at 90 degrees.

Step 6
Move it to the left until you get the form you can see in the image below.

Step 7
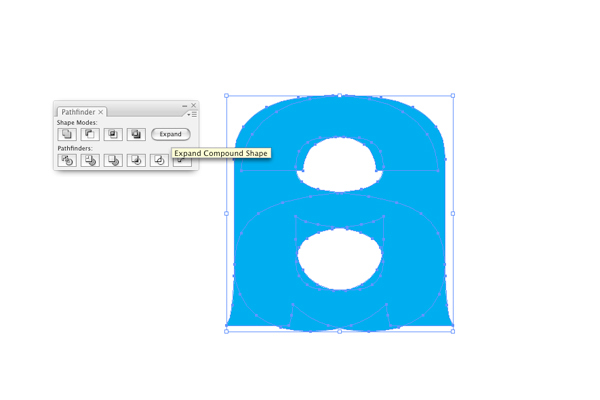
Now select both figures, click Add to shape area in the Pathfinder tab and then hit Expand.

Step 8
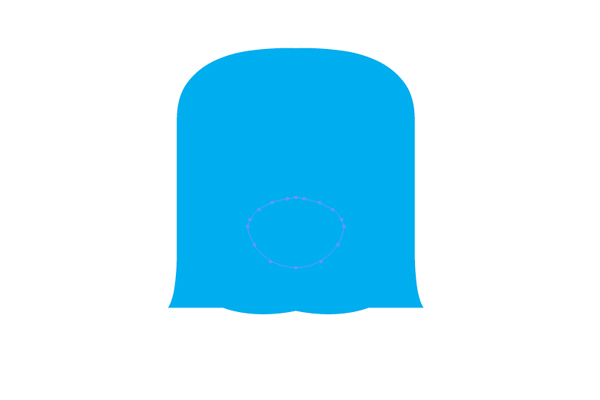
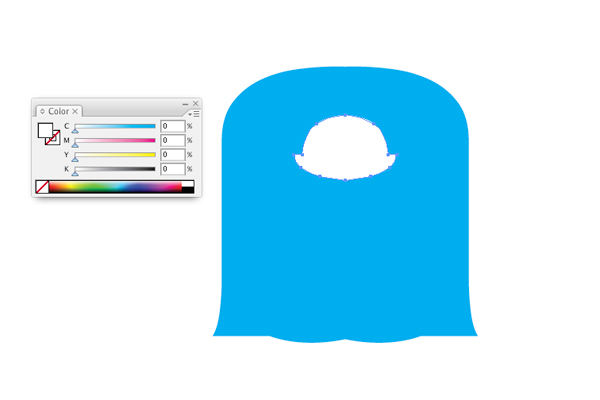
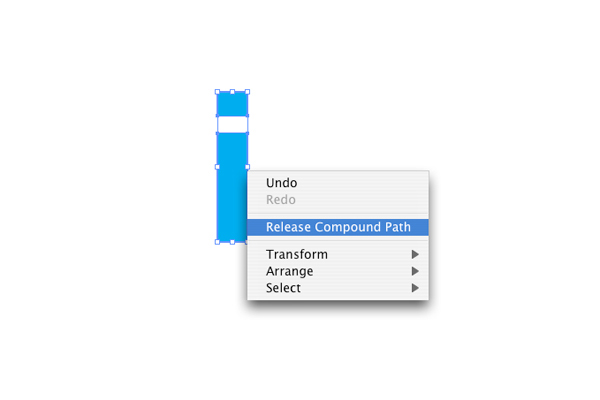
Select your new figure and right-click on it, then hit Release Compound Path in order to delete the low section of your figure. Paint the upper section with white. This is going to be the body of our character.

Step 9
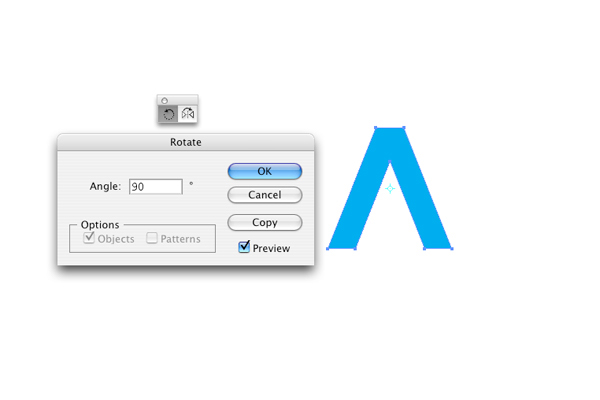
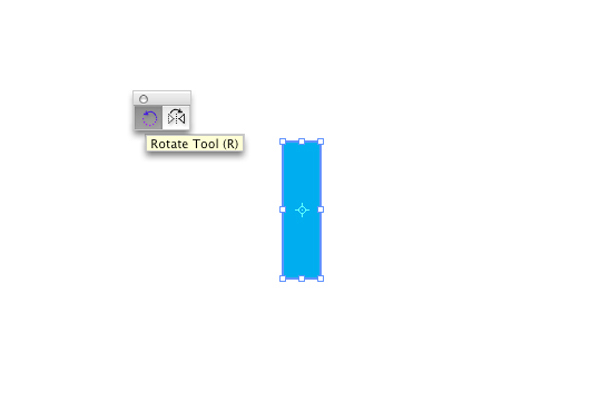
Now leave aside the body of our character and get ready to build its mouth and teeth. Take the “>” character and use the Rotate Tool (R) to flip it 90 degrees

Step 10
Select the “>” character, then hit Shift + Alt and move it to your right in order to make a copy of the element, and constrain the horizontal movement.

Step 11
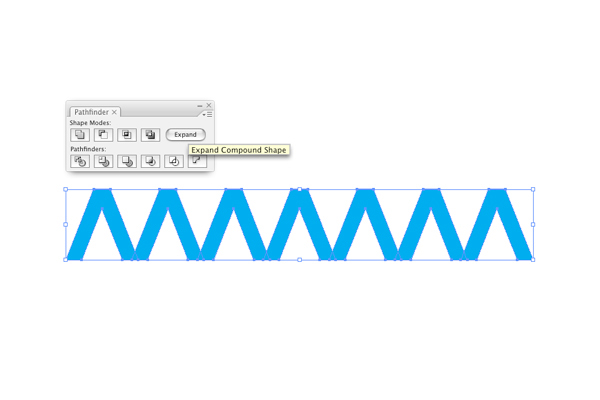
Using duplicate (Command + D), create six more “>” characters in order to have seven of them in total. Arrange them as you can see in the example below.

Step 12
Now select the seven signs, click Add to Shape Area in the Pathfinder tab and then hit Expand.

Step 13
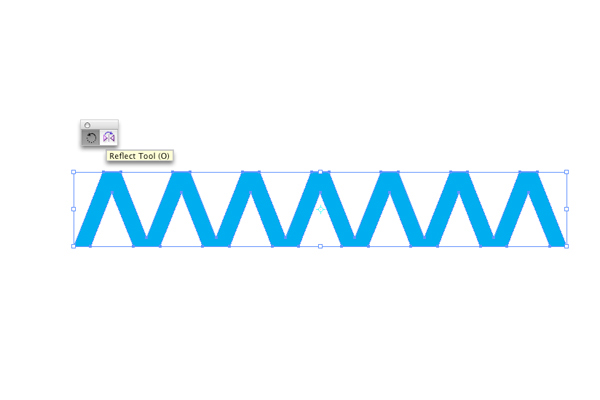
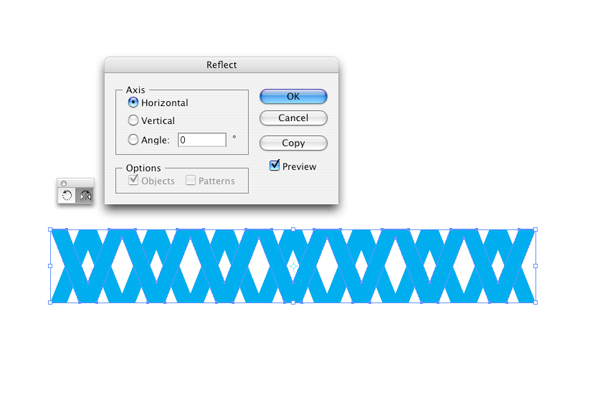
As soon as you are done, copy (Command + C), then paste in front (Command + F) the new figure. Use the Reflect Tool (O) in order to flip the new copy of the figure on its Horizontal axis.
Step 14
Arrange them as you see in the example image below to get the teeth of the character.

Step 15
Finally select the “i,” right-click and hit Release Compound Path. Delete the dot of the “i” and rotate the body of the letterform 90 degrees.


Step 16
Now stretch and copy (Command + C) it, paste front (Command + F), and arrange the upper and lower lip.


Step 17
Select Teeth and Lips and click on Add to Shape Area in the Pathfinder tab and then hit Expand. Now you have a beautiful mouth!


Step 18
Move the mouth (white fill) over the body and distribute the elements as in the example below.

Step 19
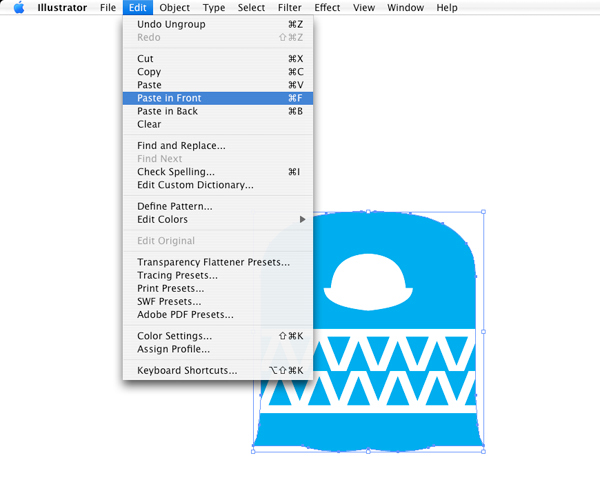
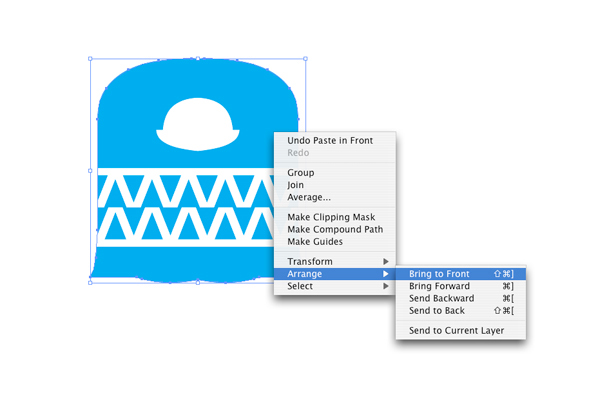
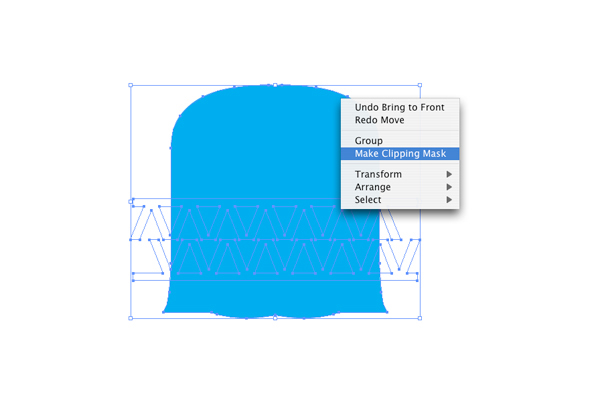
Make a copy of the body (Command + C), paste front (Command + F) and go to Object > Arrange > Bring to Front (Command + Shift + Right Bracket key).

Step 20
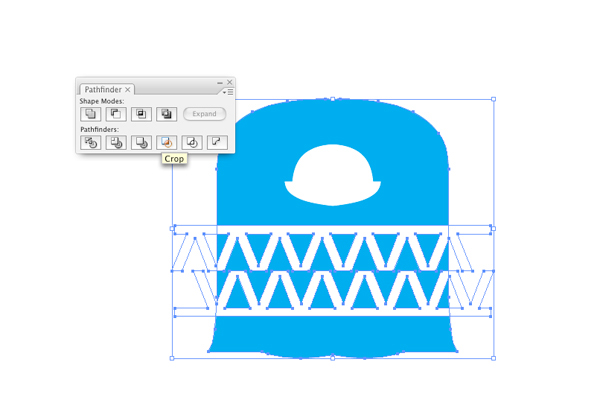
Now hold Shift and select both the body and teeth, then Right-click and select Make Clipping Mask. Then go to the Pathfinder Tab and click Crop.
Step 21
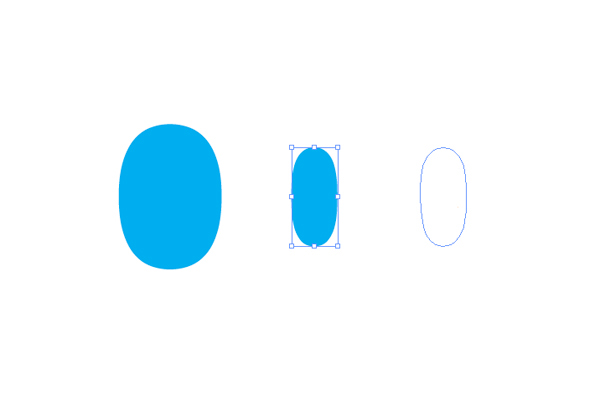
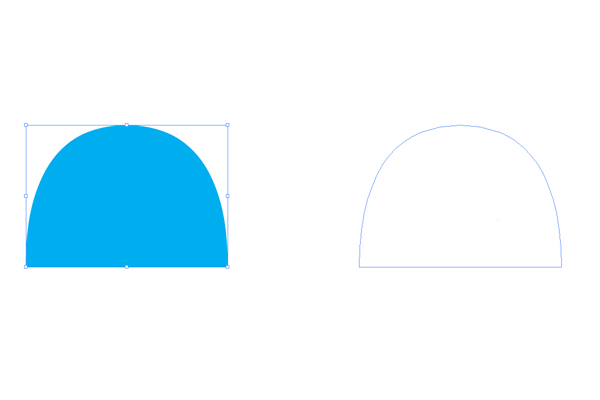
Select the “0,” Right-click over the selected element and select Release Compound Path.

Step 22
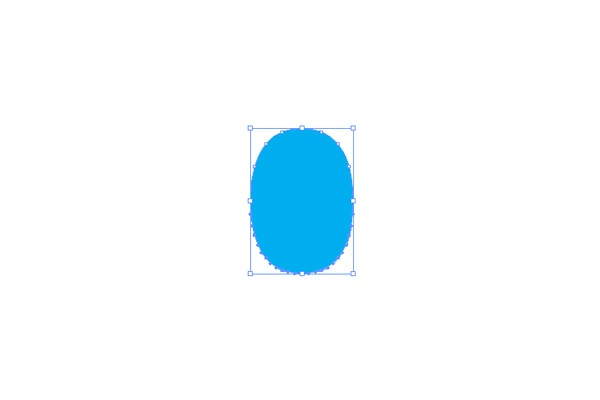
Move the inner section of the “0″ aside and duplicate the item. Then arrange both figures as the Eyes of our creature.


Step 23
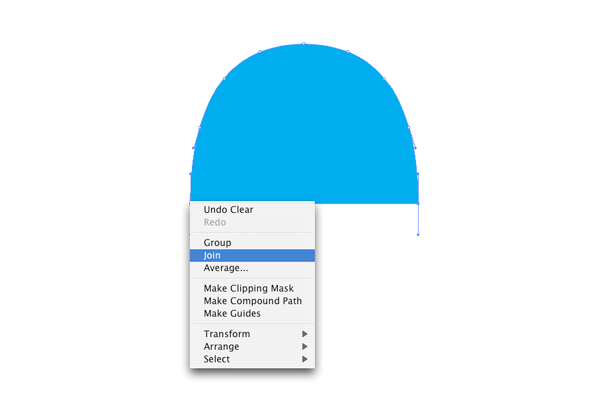
Use the Direct Selection Tool (A) to select the lower half section of the “0,” then hit delete on your Keyboard. When you are done selecting both ends of the new figure apply Join (Command + J) and you have a foot.

Step 24
Select the foot and use Shift + Alt to move it to your right in order to make a copy of the element. Arrange both feet as in the example below.


Step 25
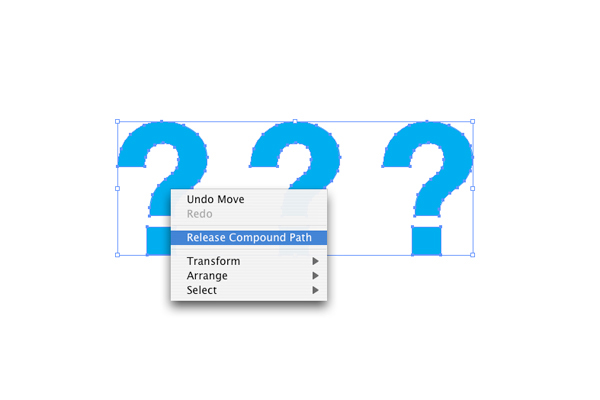
Take the question mark “?” and make two copies of it.

Step 26
Select the three elements and Right-click to Release Compound Path.
Step 27
Delete the two question mark dots and arrange the rest of the elements through Rotations (R) and Reflections (O) until you arrive at the image below.


Step 28
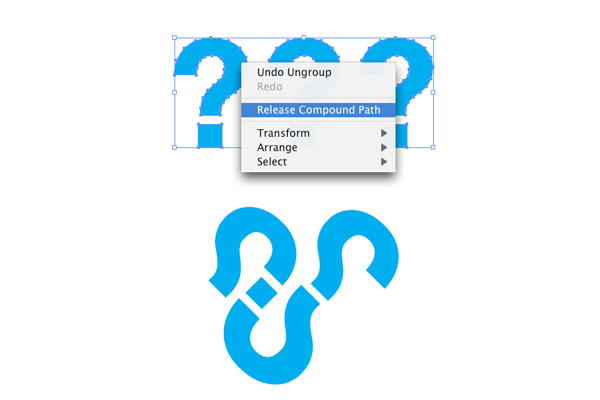
After that take another question mark and make two copies of it. Select the three elements and Right-click, then choose Release Compound Path.

Step 29
Delete two question mark dots and arrange the rest of the elements through Rotations (R) and Reflections (O) until you arrive at the sample image below.


Step 30
Now you’ve got the tentacles of our Type Creature. Arrange them in the body.

Step 31
Once you are done, select all tentacles and Right-click over the selection to Group.

Step 32
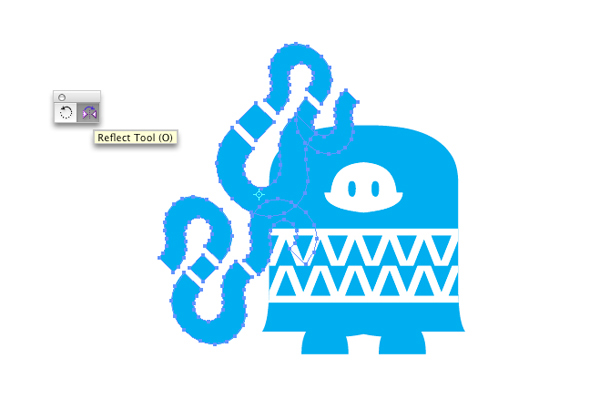
Copy (Command + C), paste in front (Command + F), and use the Reflection Tool (O) to flip the copy on its Vertical Axe at 90 degrees.


Step 33
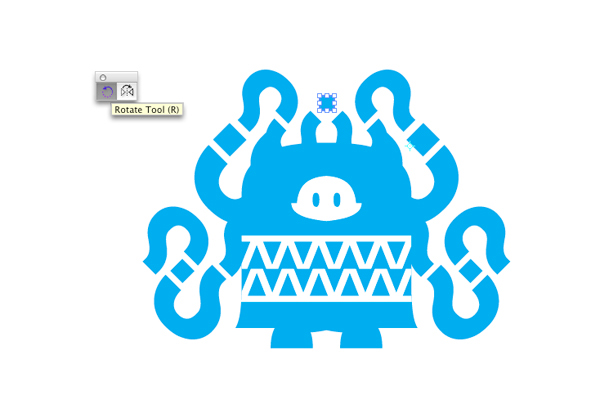
Arrange them as shown below.

Step 34
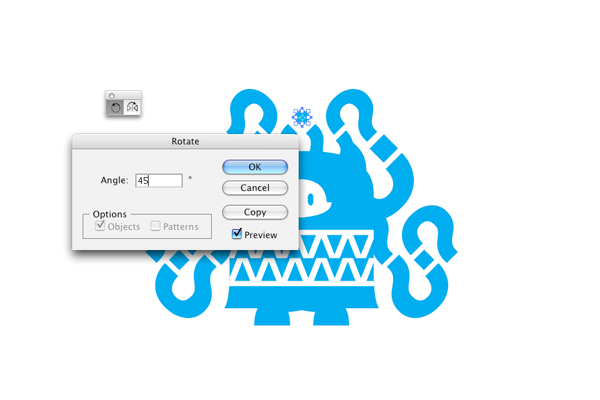
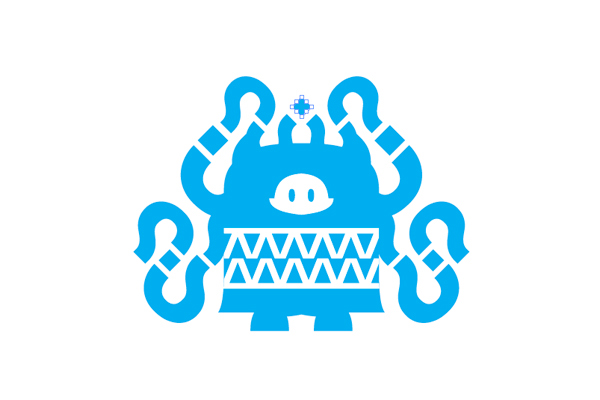
Finally take de dot of the question mark, make a 45 degree Rotation (R) and use the Direct Selection Tool (A) to select the top point of the square. Now stretch it as you can see in the figure. You are ready to enjoy your Type based monster!


Conclusion
For the final image (at the begining of the tut) I added a simple background effect. Go ahead and create your own Typefaces. You can also take this into Photoshop now and add some texture. For some inspiration visit Typefaces and have fun! You can learn more about the typefaces project in the interview on Vectortuts+.


